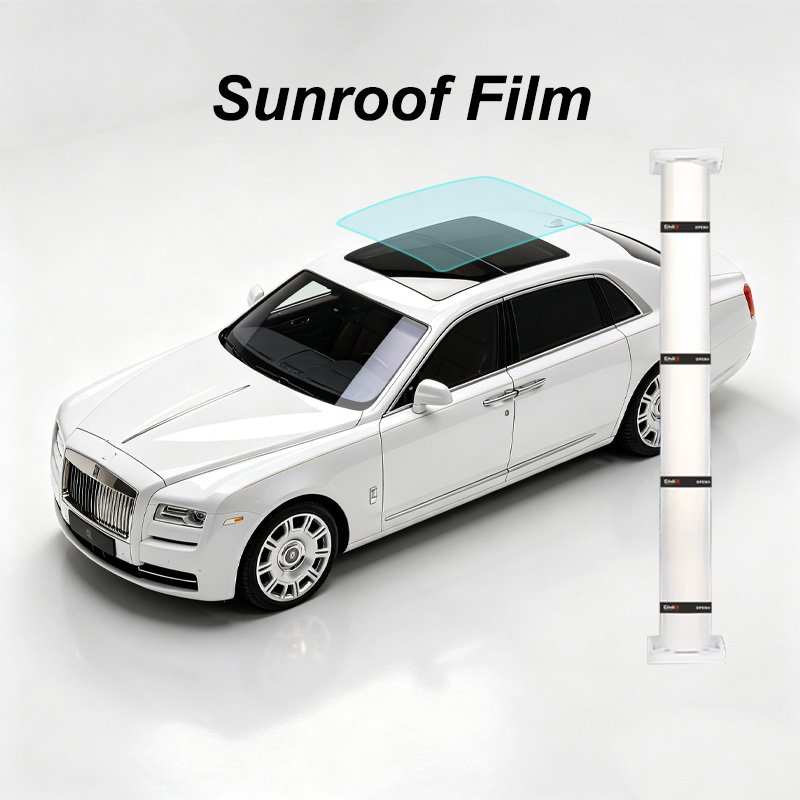
Product Description:
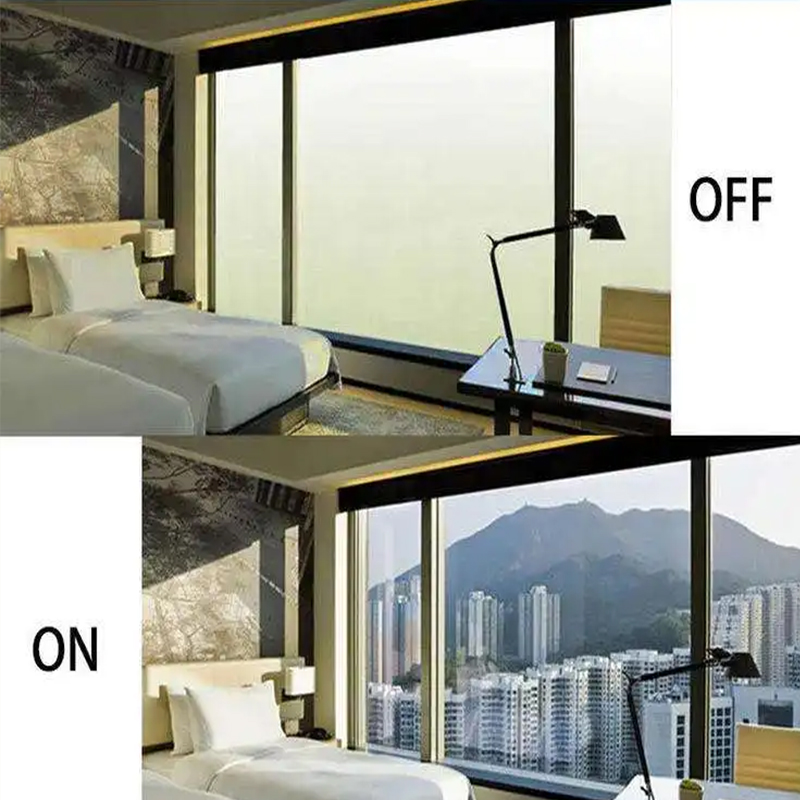
Product working Principle and Structure:
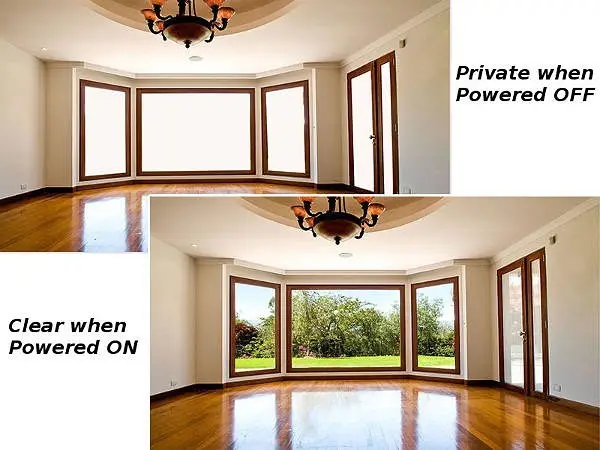
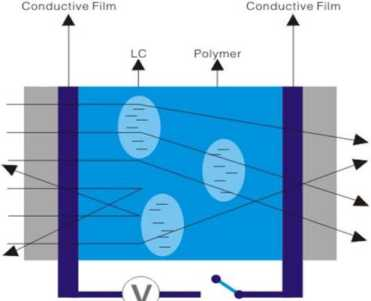 Power Off
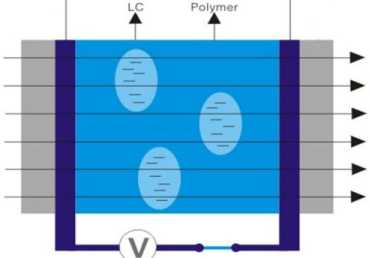 Power On
Smart Film key features
Privacy protection and room partition;
Energy saving and enviromentally friendly;
Sound Insulation: can block noise by 20% more than normal glass;
Explosion-proof: no distraction of shutters blinds or drapes;
Multiple-control: different style controls like remote control, wall sensor, voice control, dimmable control......
Steps to connect smart glass window film
Step 1: Connect Bus bar to Switchable Film
Broadly speaking, a Bus bar is an electrically conductive rod, bar, or strip.
In relation to Smart Film the Bus-bar is a conductive copper strip applied to one or two edges of the sheet of PDLC film prior to it being laminated between two panes of glass.
The copper strip acts as the conduit for the stepped-down (48/60V AC) electrical current which activates the liquid crystals within the film. The current is spread by means of a conductive Indium Tin Oxide coating on the surface of the enclosing PET film.
Some Smart Film panels may require more than one Bus bar to ensure full and even distribution of the electrical current.
Twin Wires: Wires are soldered on to either end of each Bus bar. They are twin (or dual) wires. This apparent ‘double-up’ is to compensate in the case of a wire becoming detached or dislodged during the panel’s installation process. The busbar may be applied to the long or short edge/s, depending on your requirements. Some panels, depending on their proportions, may require two bus bars. Acceptable Positioning of Bus bars on Smart Film Panel
Step 2: Tools Preparation
Nitrile gloves (or other non-powdered, lint-free gloves)
Glass cleaner (non-ammonia based)
Silicone adhesive sealant
Applicator squeegee/Glass scraper
Rubber Roller
Lint free cloth (microfiber)
Low adhesive tape (painters tape)
Packaging tape
Wire mold / trim
Ladder (if necessary)
Electrical tester (switch cord)
Soldering iron
Electrical wire leads
Inspect each piece of film immediately, without wrong sizes, damaged edges and then proceed installation.
Step 3: Cleaning window or door existing glass
Use a window scraper or blade to remove and dirt / blemishes from the glass surface. Repeat it without any dirt/blemisheds. And then Spray the glass with glass cleanser and clean with a absorbent cloth to completely clean and dry. Then Using a lint free cloth, wipe the glass surface until it is dust free.
Step 4: cleaning the pdlc film
Using a lint-free cloth, wipe down the protective liner on the cling side of film to remove any dust.
Step 5: size of tearing the covered film
Put on clean nitrile protective gloves and using the edge tab of the label remove the first 100mm(4″) of the protective liner covering the cling side. Make sure that dust does not fall onto the cling Sid
Step6: Sticking film
Align the edge of Film with the top edge of the glass. When in position, run your finger along to press down and fix the top edge(the adhesive strip will hold the film in position).e.
Step 7: sticking cautions
Gradually pull away the protective liner and allow Film to slowly adhere to the glass surface under its own pressure. Using the soft edge squeegee move down Film working in horizontal lines left to right to disperse any air bubbles. If any small bubbles are still visible, carefully lift the film and let it sit back down under its own pressure. If any small bubbles are visible, carefully check for any dust particles. If so, use adhesive tap and carefully remove the dust particles. Otherwise, carefully lift Film and let it sit back down under its own pressure (whilst-using the squeegee). Repeat the above process until you have a bubble-free installation (for bubbles near the edges).
Step 8: Soldering and circuit connection
Once Film is in place, connect Clips-On electrode to the transformer. For best results, use cable guides along the edge of the window.
Step 9: Testing
Connect the transformer to the power source and test Film(switching from opaque to clear).
Step 10: silicone sealant of the edge
For additional security or when using film in a high moisture environment use non-acidic based silicone(e.g. GE-83)along the edges of the film about 5mm, when it dries(about 3 days) later to power on and use the switchable film.
Step 11 With 3M glue to seal the edge
Kind notice:
1,No water using in installation unless for clean the glass
2,The needed film size is 2-3mm less than the glass size to fit installation
3,All should be done under dust-free working environment.
4, Remember to use silicone sealant glue